Refurbishing a Dog Wheelchair in Goa
I’ve been refurbishing dog wheelchairs at ARC South Goa .
Most doggos needing a wheelchair have experienced spinal trauma resulting in some loss of control over their hind quarters. For some dogs the wheelchair will be something they use to aid recovery and have some fun time while they are recovering. For others, it’s a long term arrangement.
This page is intended to help other folk who, like me, want to help at an animal rescue place, but are better at fixing the things around the dogs than fixing the dogs themselves.
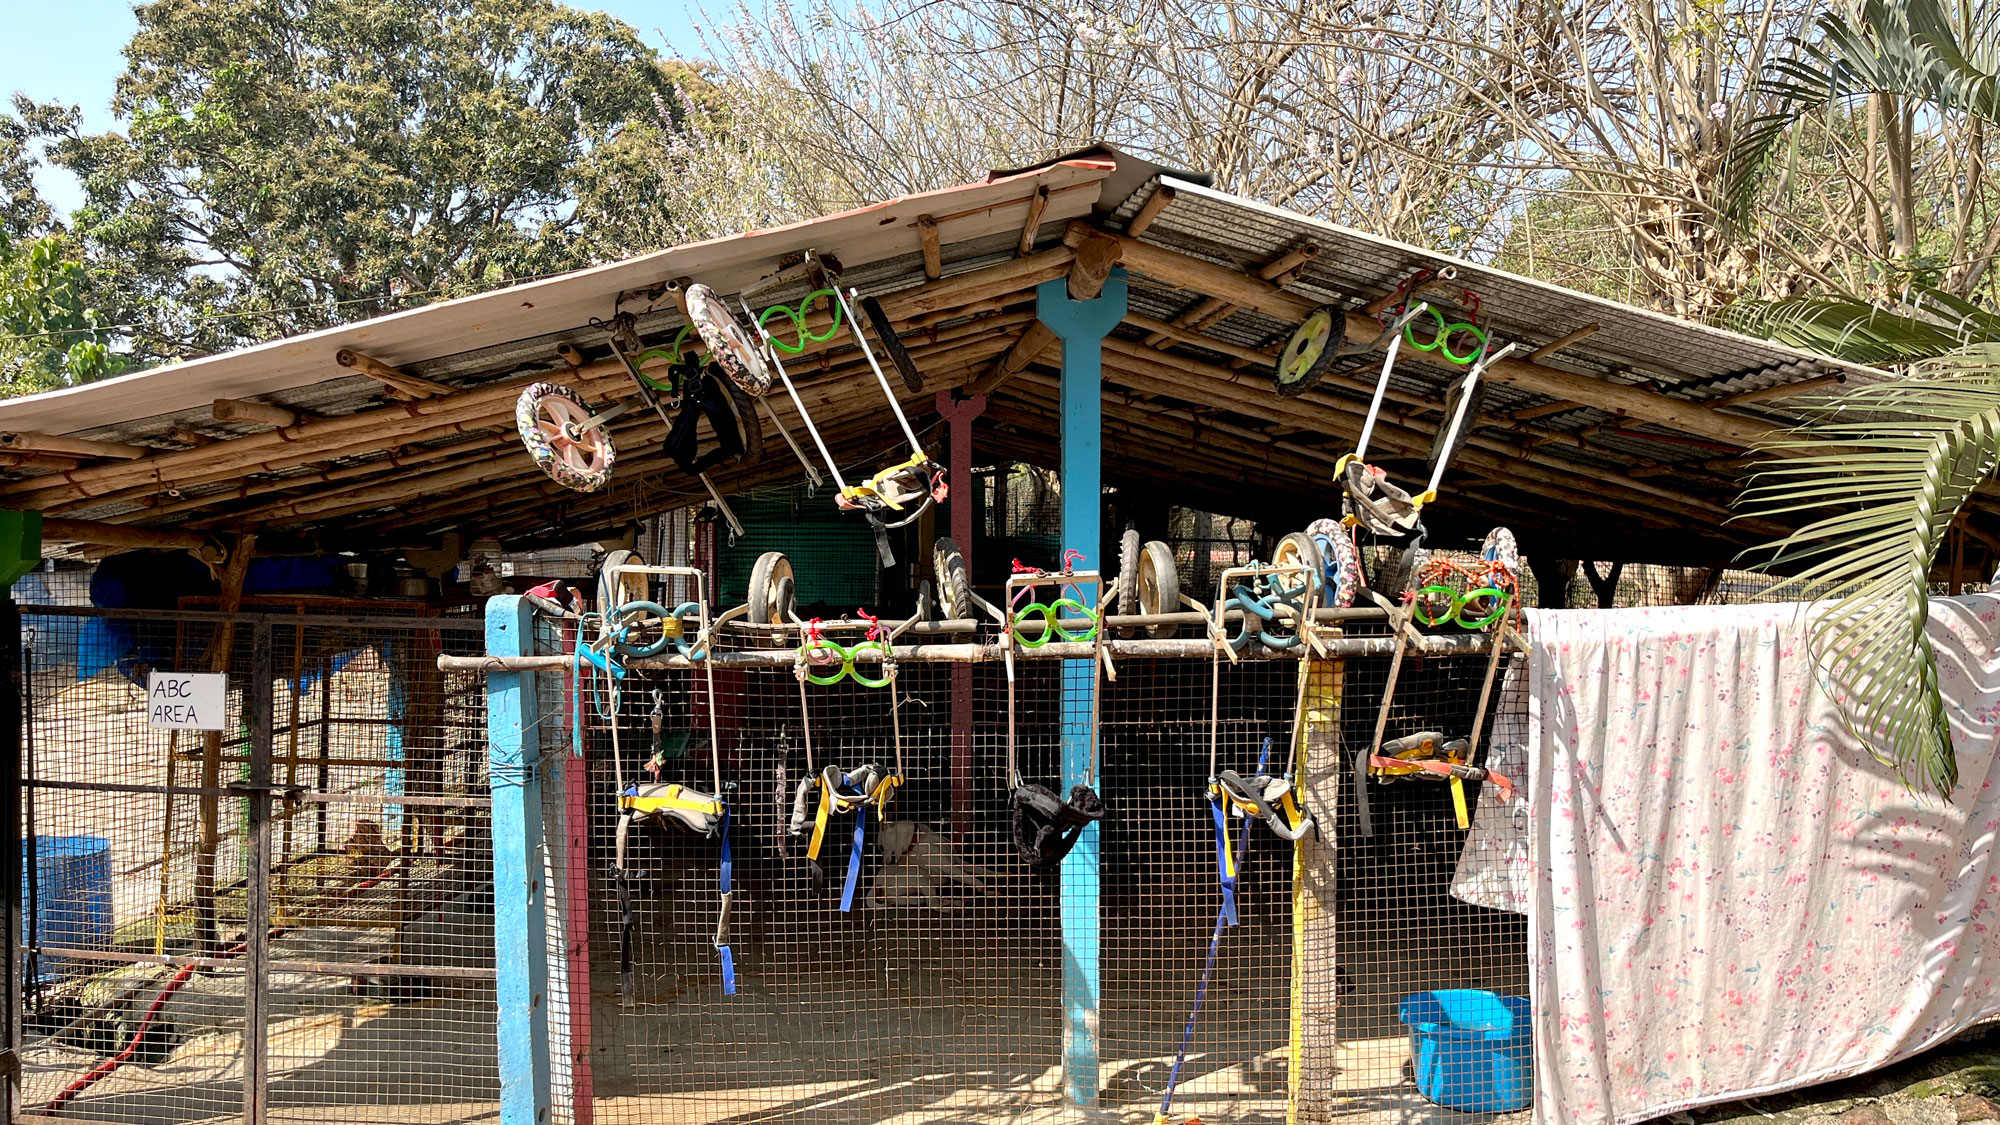
Sometimes the required parts are not available from the manufacturers, and even if they are available, they are expensive by comparison to the jugaad approach, and not available “today”. So using things available in Chaudi (the local town) and some ideas from Dog House Home Boarding Liz , I refurbished 9 dog wheelchairs as my contribution to ARC South Goa during this year’s stay in our life away from life.
If anyone else has been doing this, I would love to see your approaches to solving these problems. You could send me a message via LinkedIn .
Workspace
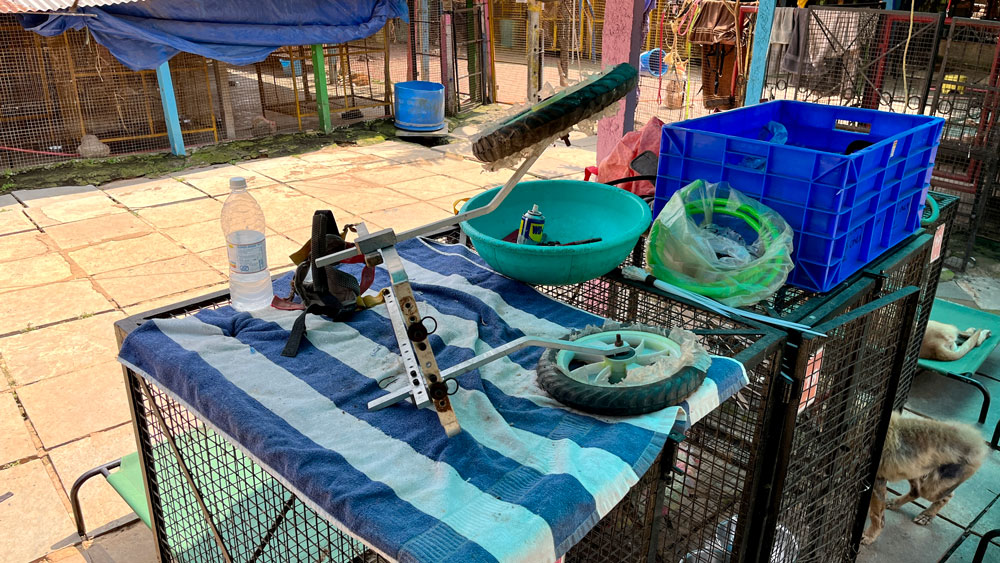
Set yourself up with somewhere suitable to work.
I found these dog cages to be the perfect height for standing without bending, and they were mostly in shade all day. A towel or something over the stop helps avoid things dropping through and going down a drain or something. A large food bowel is a good place to keep tools and parts safe.
Frame
Thwheelchairs needed be adjusted for different dogs, so undo all the bolts etc.and apply some lubricant before putting them back in to minimise the risk of them seizing.
Seized bolts can be left with some WD-40 on soaking into the threads while you pull ticks off dogs, go to the beach, do yoga or whatever. Bashing the bolt heads often seems to help break the seize too.
I also found that some of the wheelchairs used imperial (AKA inch) allen bolts and without a set to hand, had to resort to pliers and muscle.
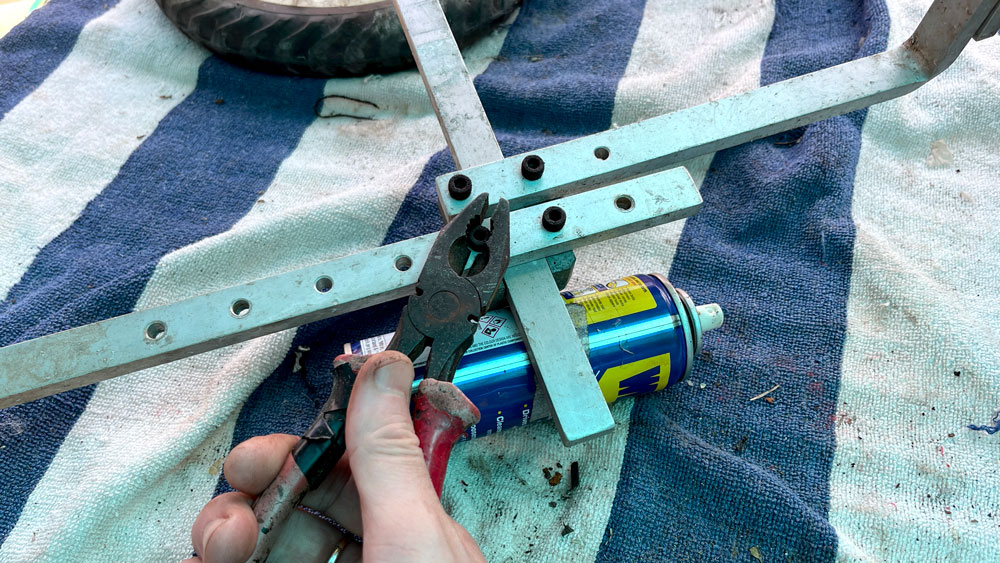
It’s worth setting up the wheelchairs to be roughly the correct adjustment for an average sized beach/street dog.
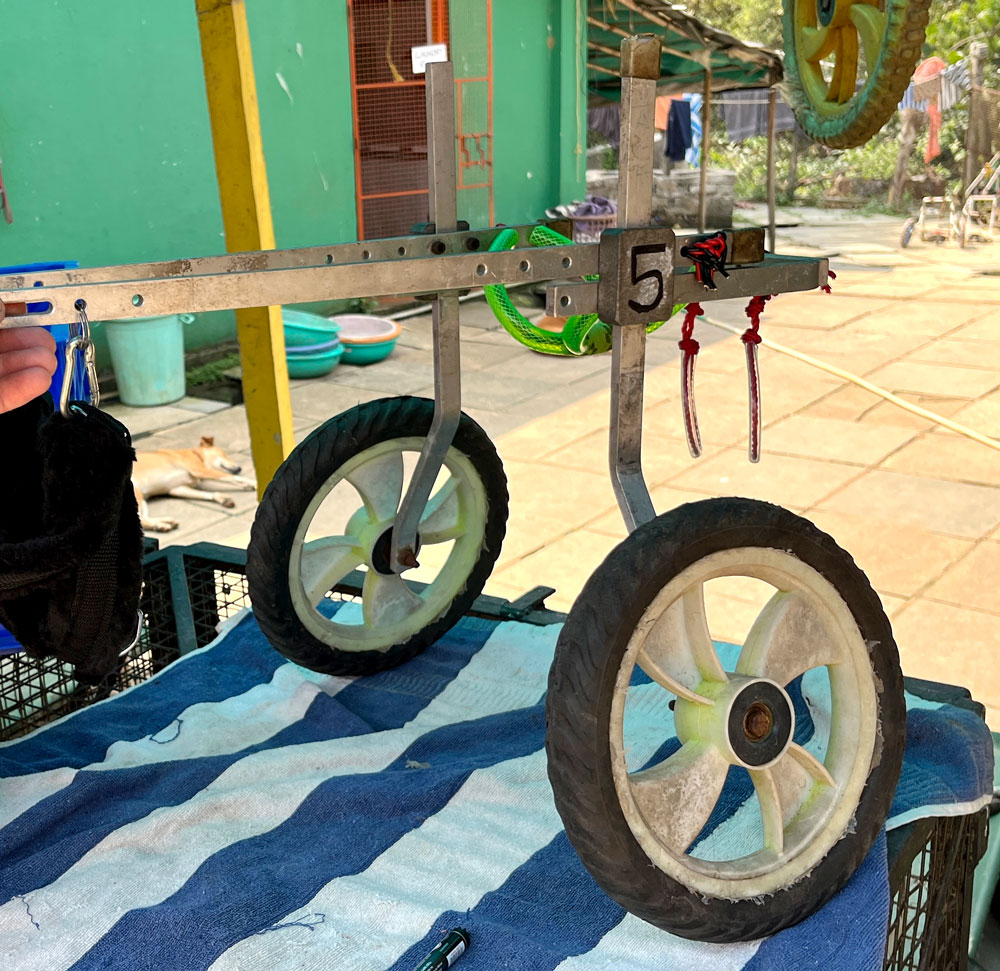
Main back end supports
These are where the dog’s back legs go through first and support the dog around the thighs.
I replaced some knackered band end supports with garden hose and several strands of single core electrical cable.
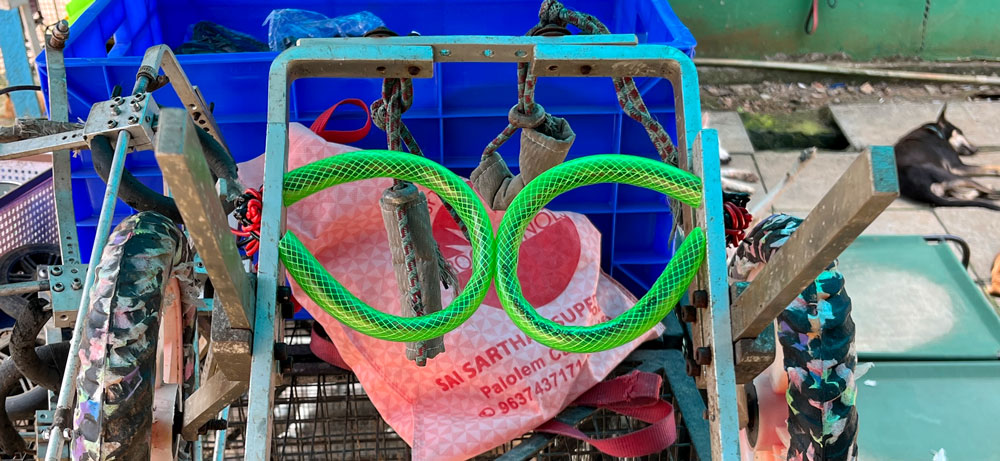
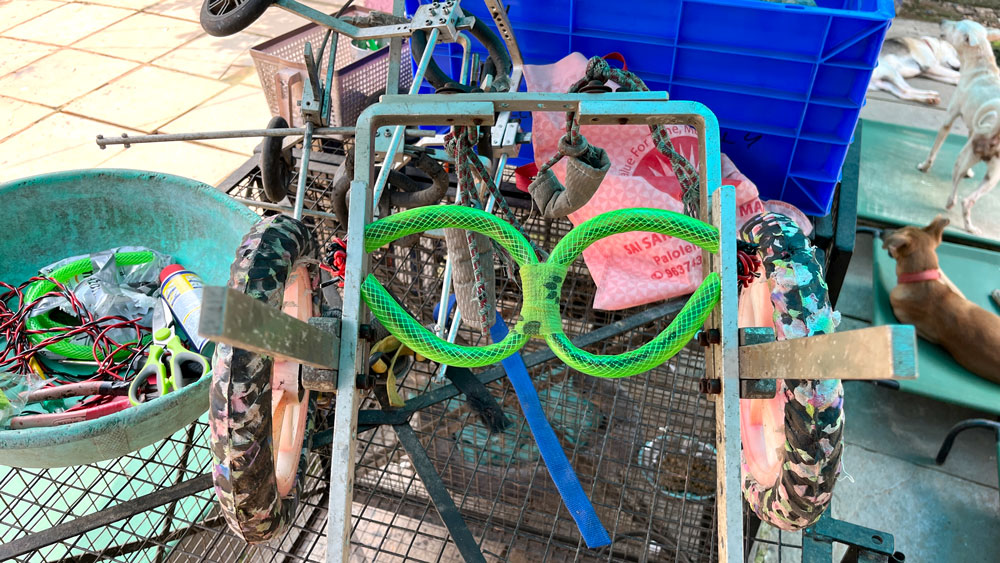
Cut the hose to a suitable length using angle cuts to encourage it to round out when pulled tight against the frame.
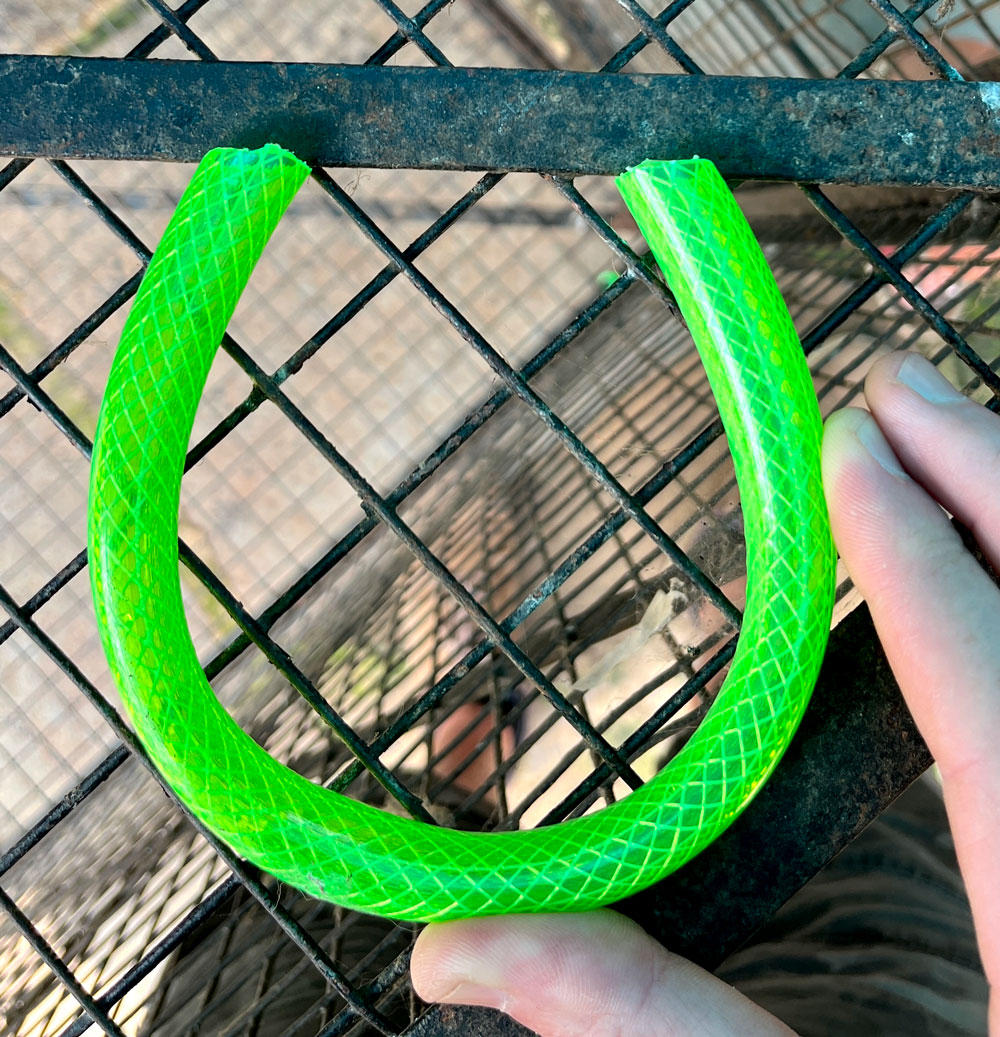
Figure out how many strands of cable you will be able to get through the holes in the frame. The more the better, both for strength/redundancy and to fill out the hose in order to minimise kinking.
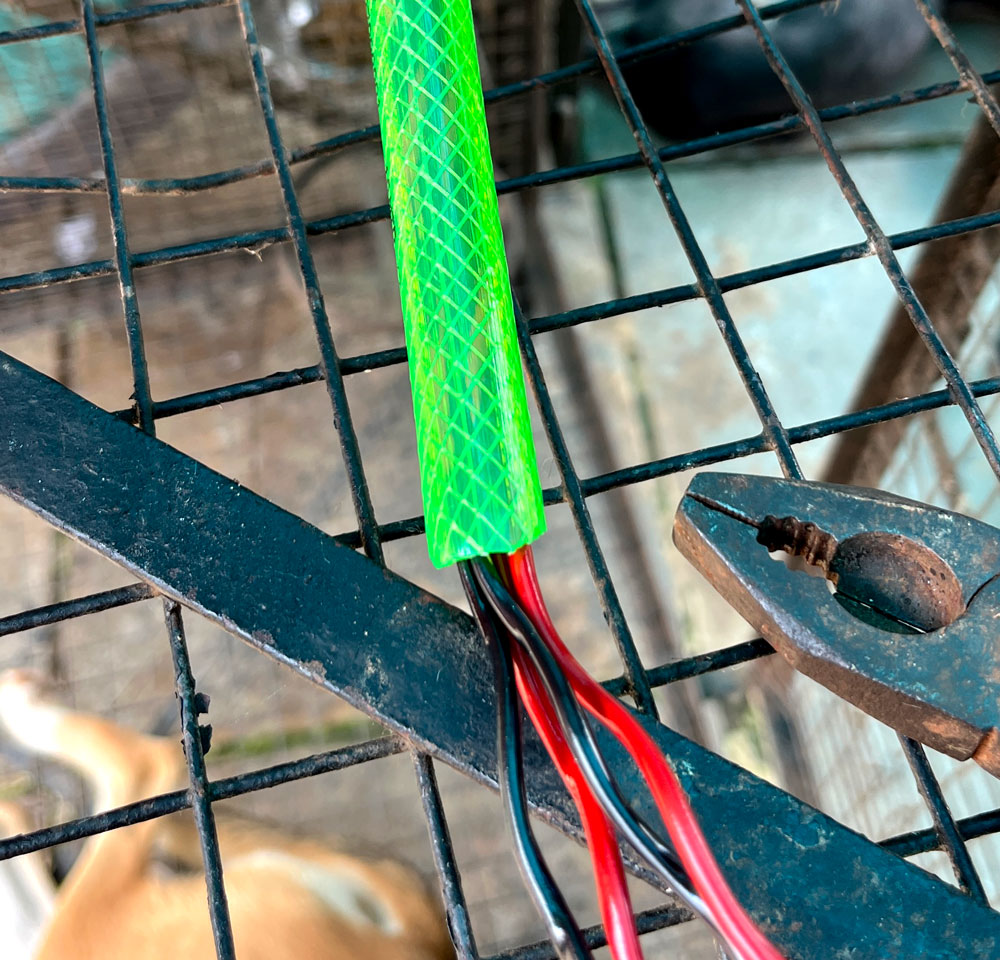
To start installing the back leg support, thread the cables through the frame.
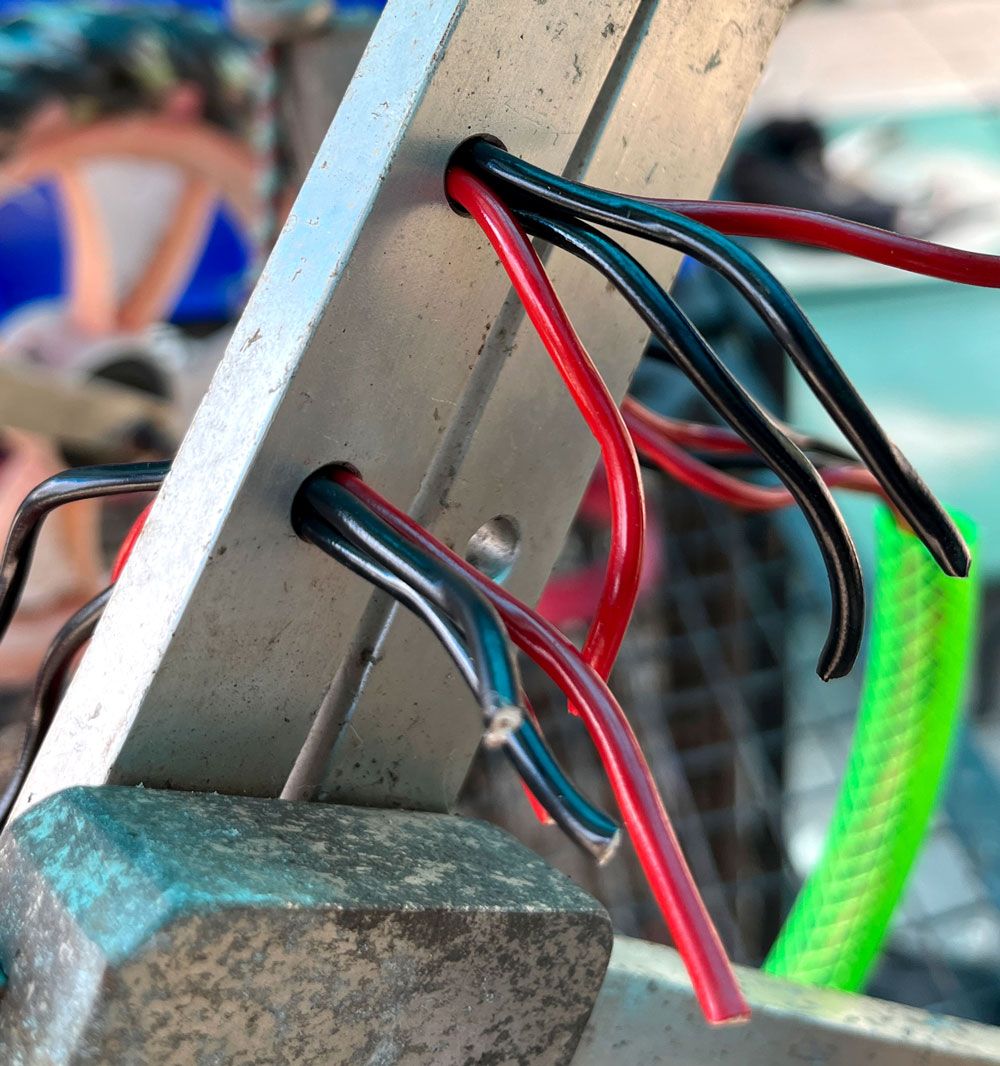
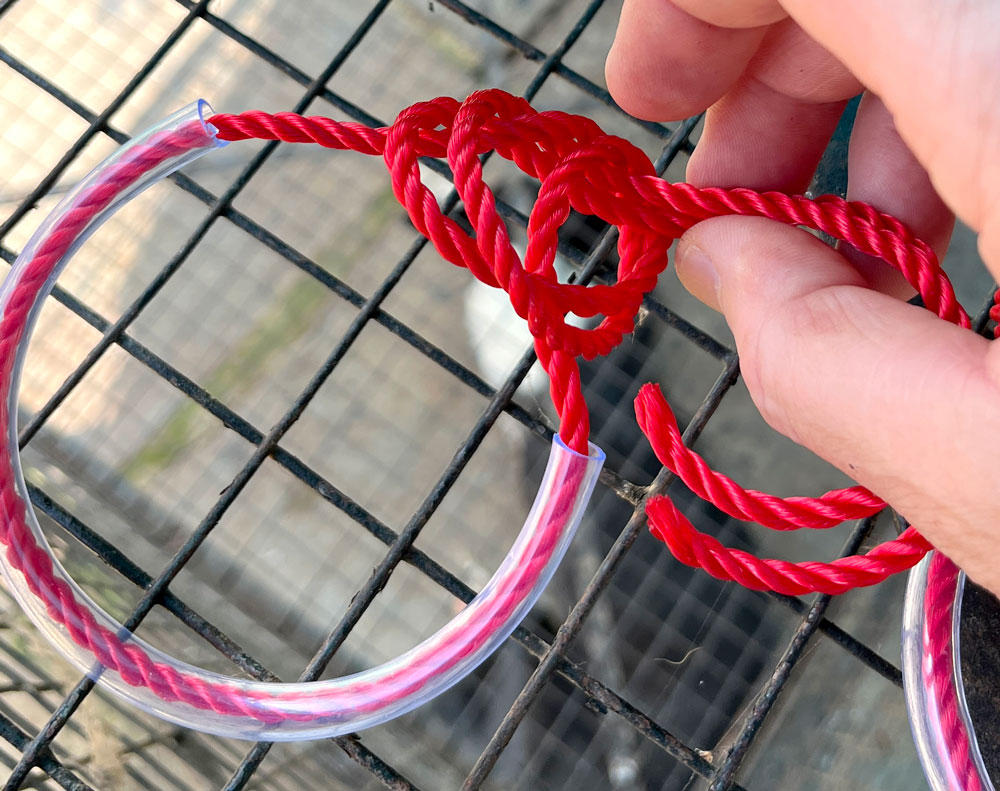
Identify the matching ends by pulling on them and tie each cable with three “granny” knots.

Thread all the cable ends behind the knots to reduce the rick of the undoing over time. You may need to jimmy a gap by gently poking a screwdriver behind the clump of knots.
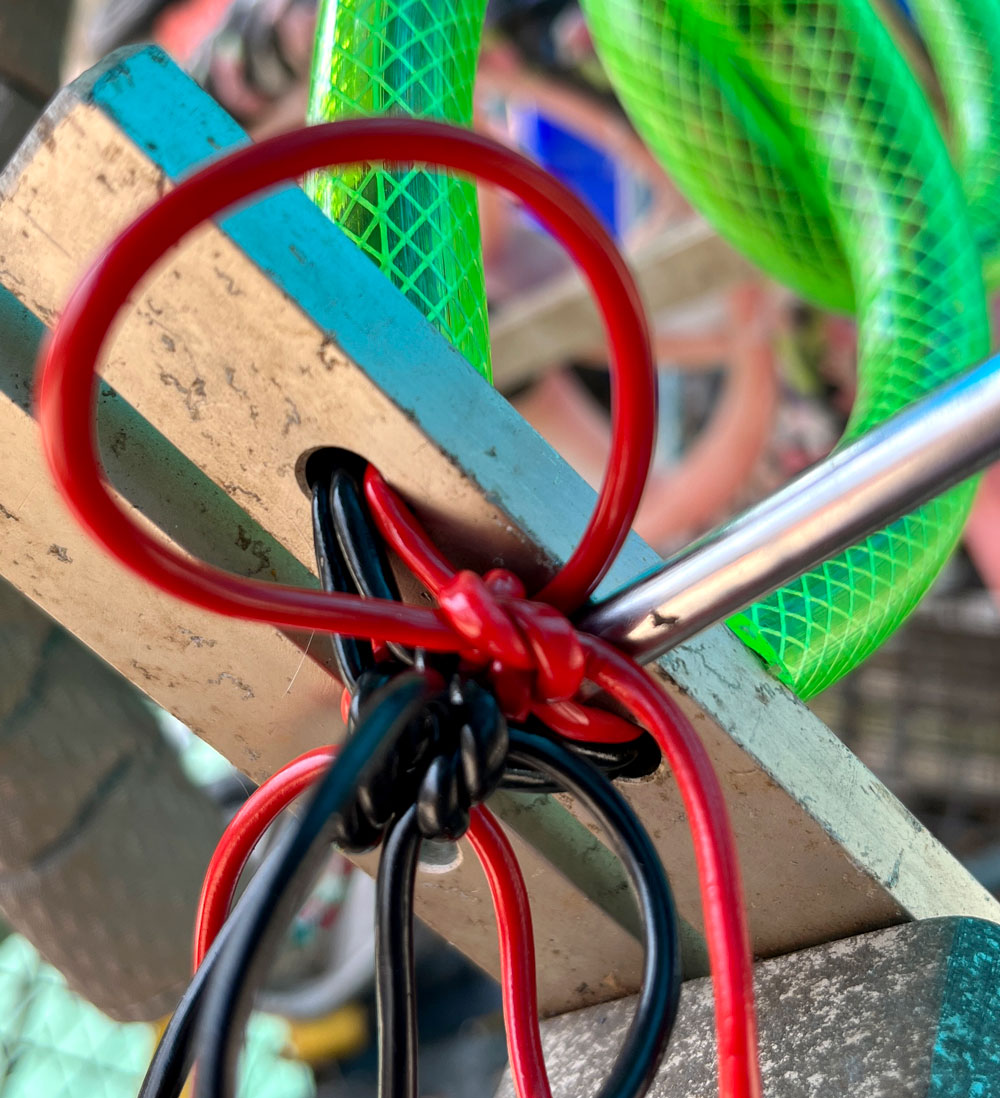
Trim off the excess cable.
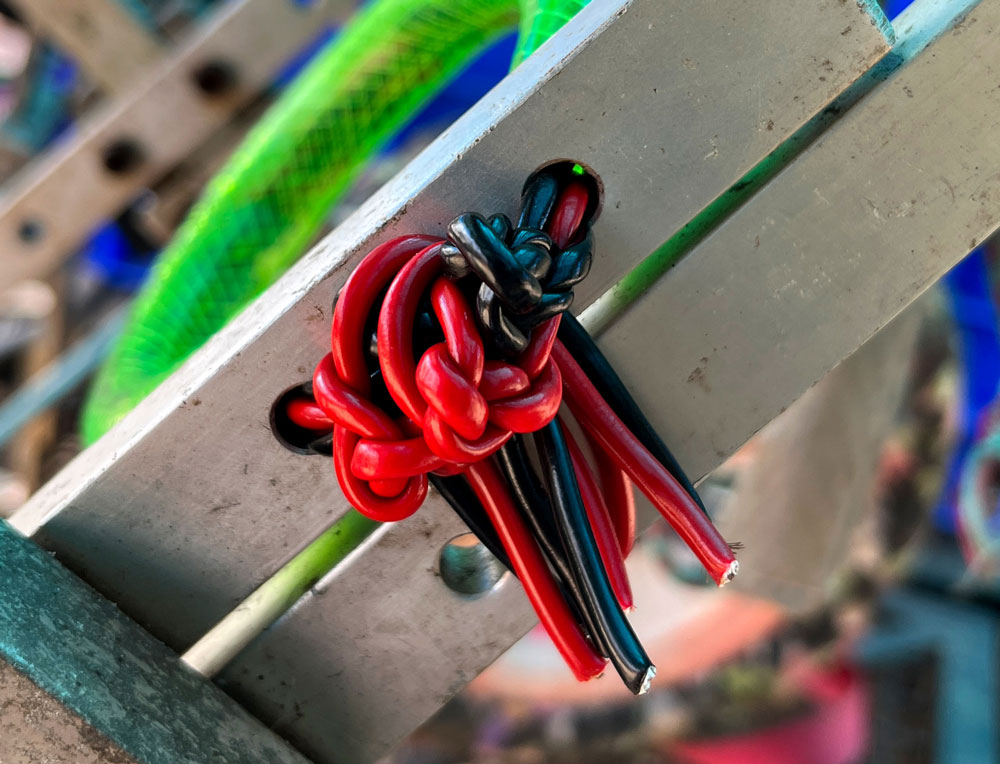
Now we have two back end supports fitted.
Fixing the back end supports together with some sticky bandage makes it easier to get the dog’s legs in. The bandage won’t last forever, but it is something any animal rescue centre should have easily available to replace as needed.
Back leg hangers
At the back end, many dogs need something to support their back feet so they don’t drag on the ground causing injury. Paralysed dogs often have no idea they are hurting themselves, so will happy drag their feet around until the skin is rubbed off.
PVC pipe and string works well for the back leg hangers.
Thread some string through a suitable length of pipe. Don’t be shy with the lenght of the string, it’s tedious when you realise you are a few centimetres short at the end.
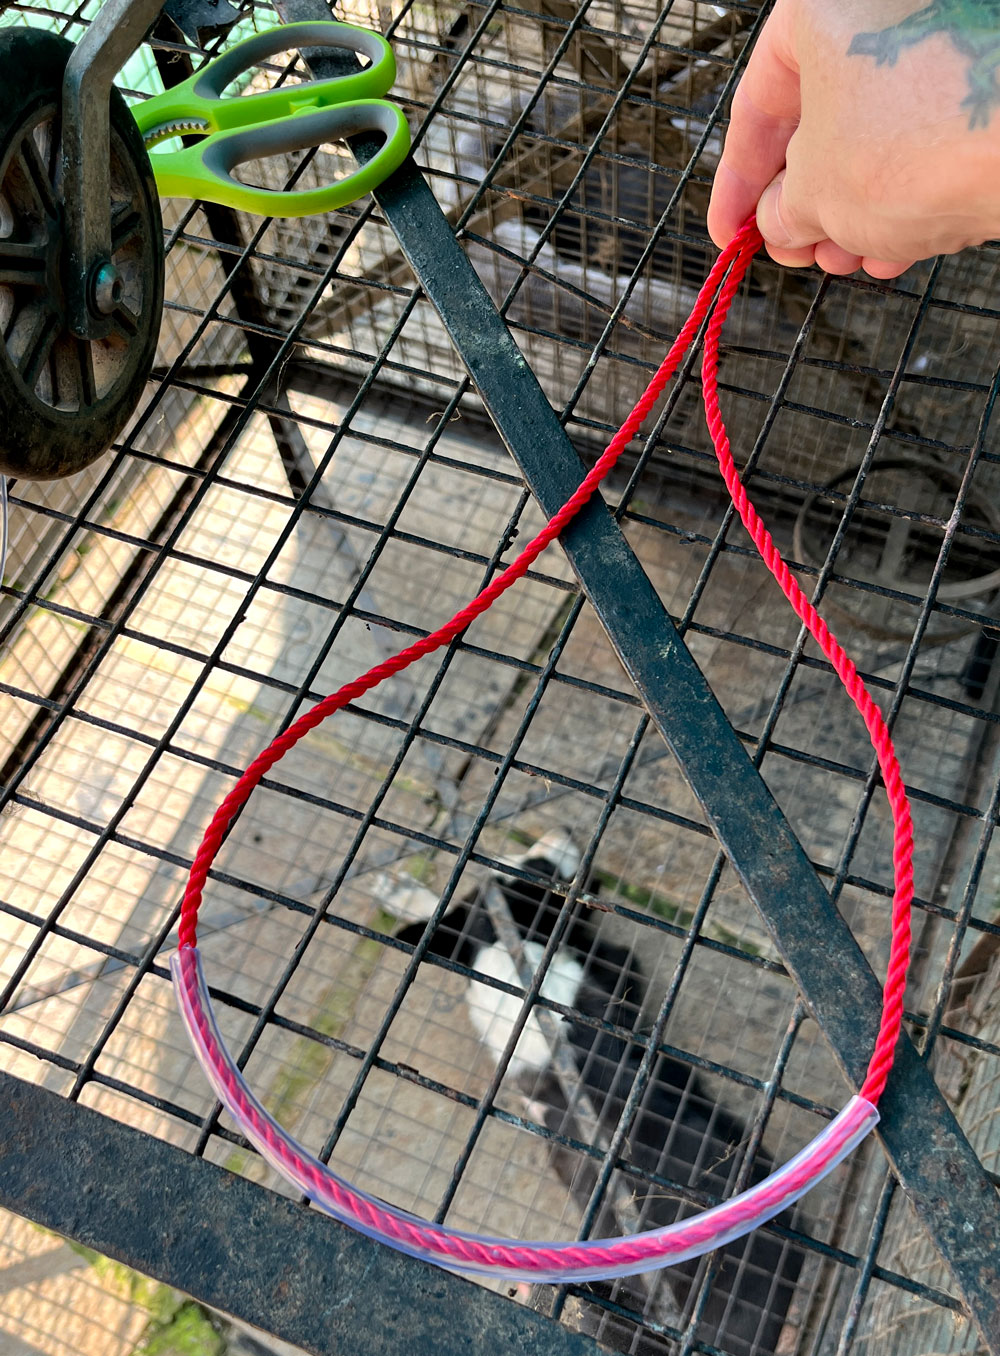
Tie a knot by the ends of the pipe.
It depends on what you will be securing them to, but usually a second knot before the frame is good.

Tie another knot to secure the back leg hanger to the frame and pull it tight as hell with some pliers.
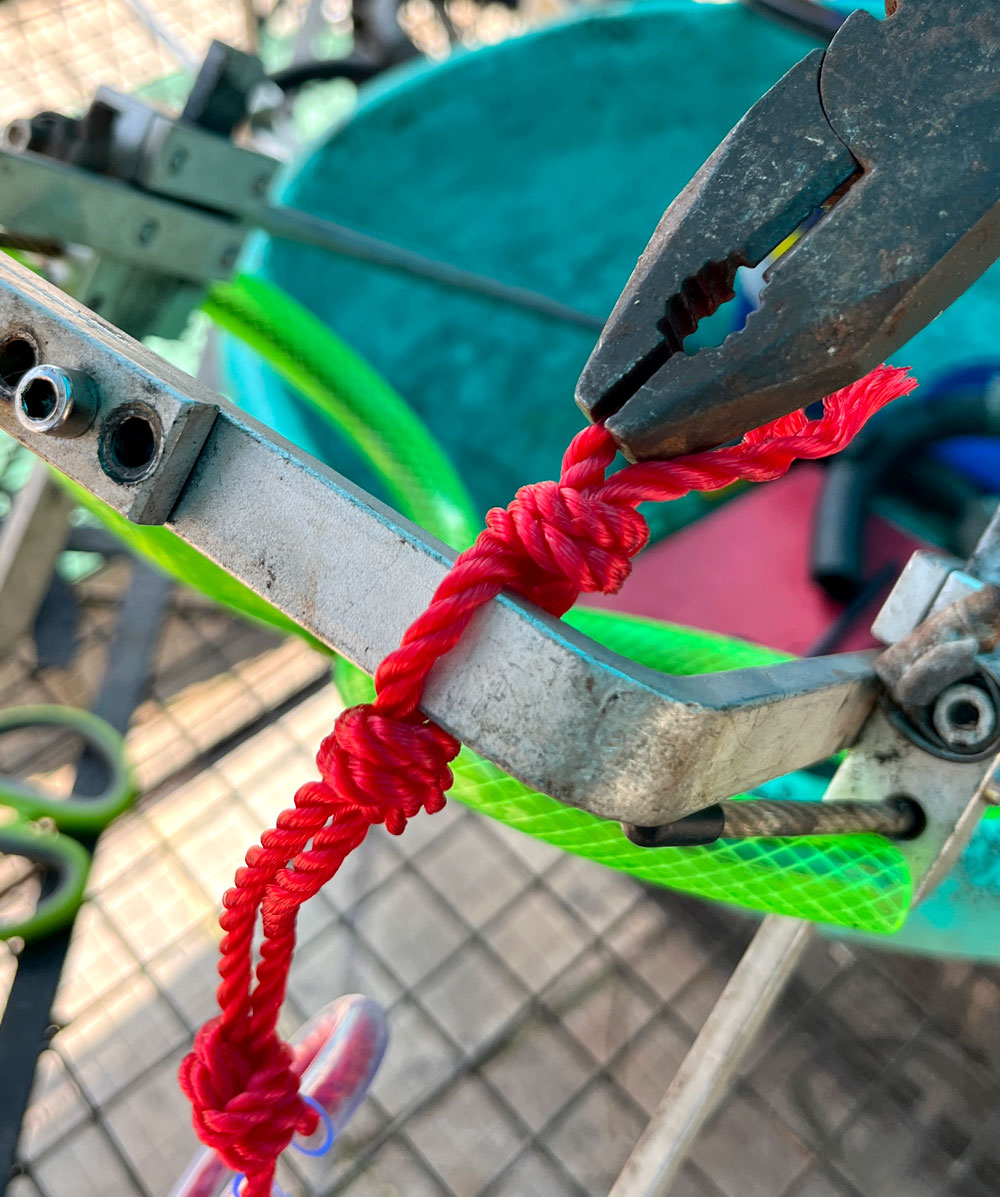
Finished rear leg hangers.
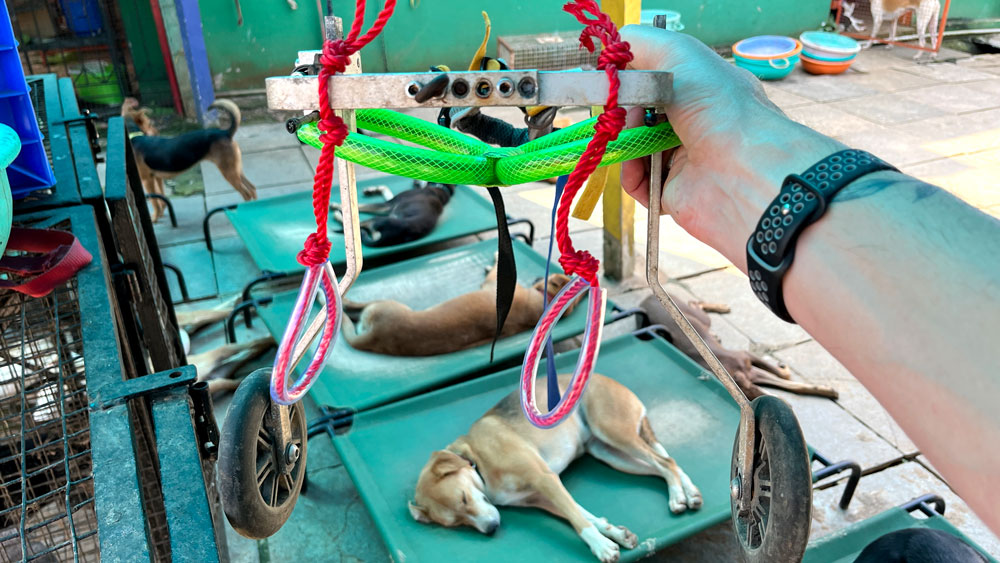
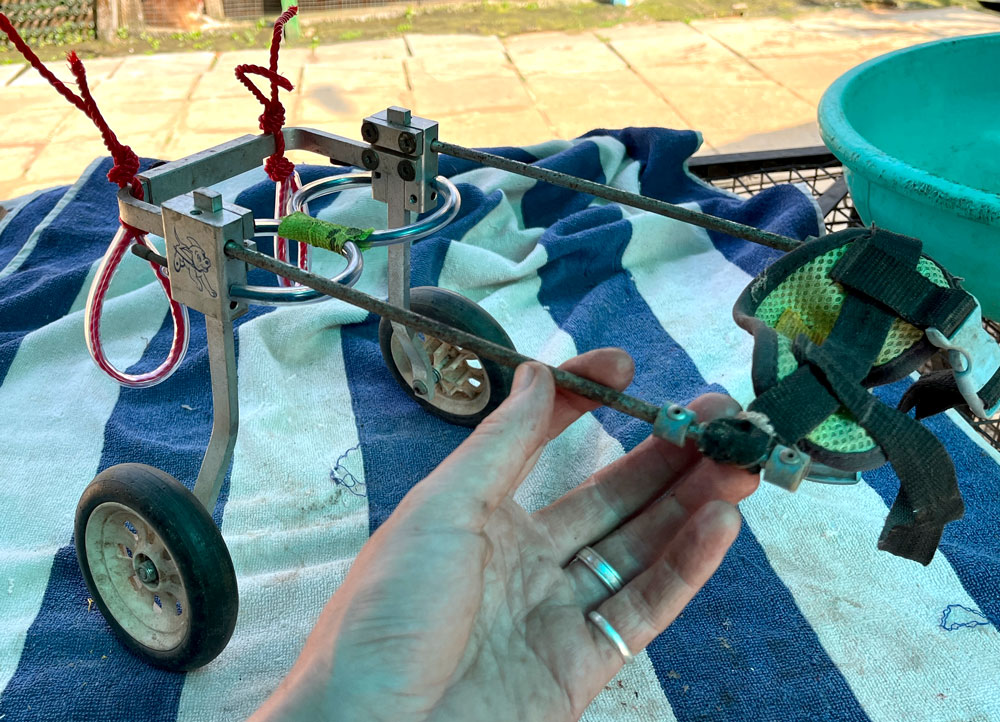
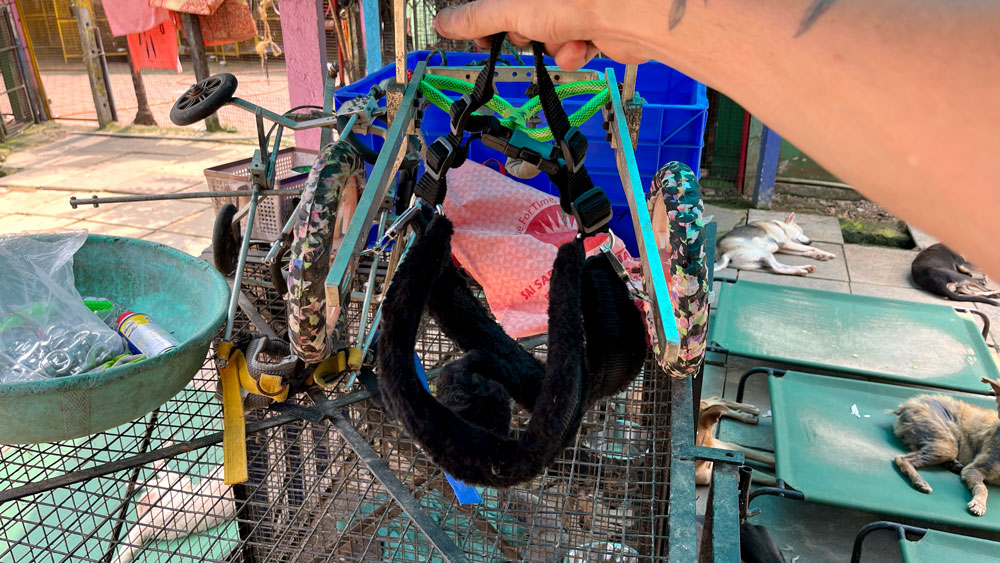
Using a regular dog harness at the front
An alternative to the harnesses that originally came with the wheelchairs is to use a suitable regular dog harness and adding some clips to the front of the wheelchair.
This has the advantage that you can get the front of the dog into the harness before introducing the wheelchair, then get the dog’s back legs in before lifting the front of the wheelchair and clipping it on.
Credit to Dog House Home Boarding Liz for this idea.
One option is using a keyring clip to attach the front harness.
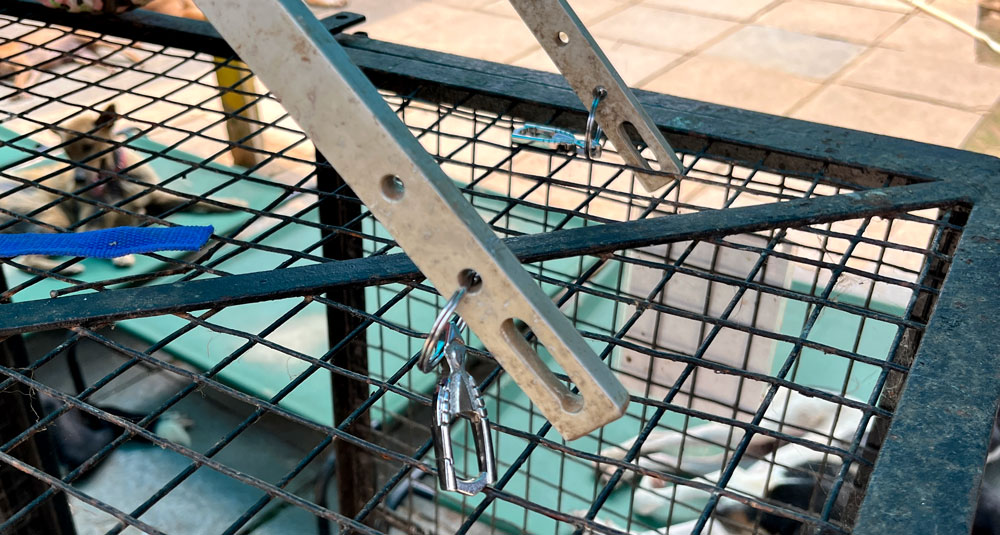
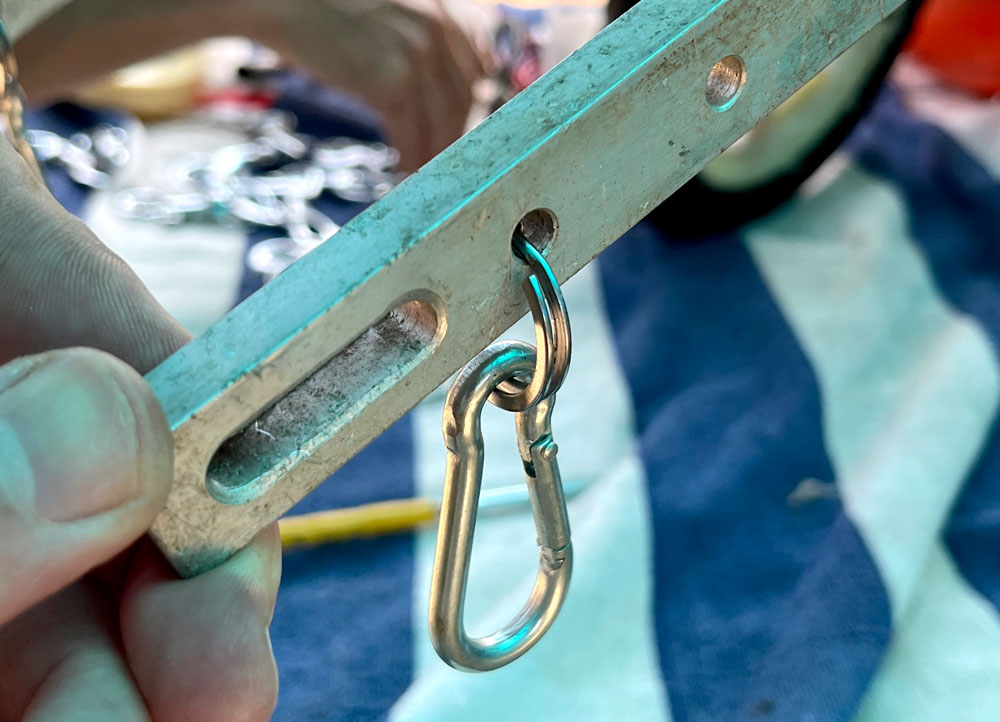
Another option for the front harness is to use a carabineer secured with a keyring.
Dog wheelchair with a regular dog harness attached.
Puppy wheelchair
This is much the same as the others, except I used the smaller clear PCV pipe for the main back leg supports.
We hope it won’t be needed, but it has been needed previously, was in a knackered state, and probably will be needed again.